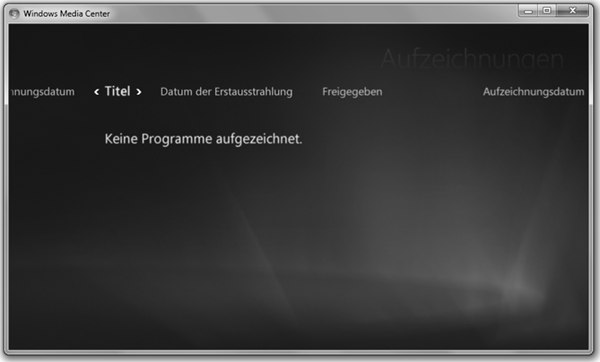
If you are not afraid of having a computer control your television, Microsoft’s Windows Media Center application provides one of the sleekest, most intuitive user interfaces to consume broadcast streams live and on-demand. Yet, even having computer as digital video recorder with access to 30+ cable channels, does not guarantee that there is always something interesting to watch. So instead of deleting old recordings from disk, you might want to keep them for an indefinite time. Over time, this can easily result in a large movie collection which – as a side-effect – may also significantly reduce your expenses for buying or renting media.
Windows Media Center: But sometimes there is just nothing on …
Despite the comparatively low cost for disk space, the Windows Television (.wtv) files produced by Windows Media Center are clearly too verbose for direct archiving. Furthermore, although it may be fun to watch old commercials sometimes, you probably do not want to see them when you have some friends over for a Star Trek night. So the first thing that you might want to do is to edit and transcode your recordings. Fortunately, there are simple and free applications that let you do this conveniently.
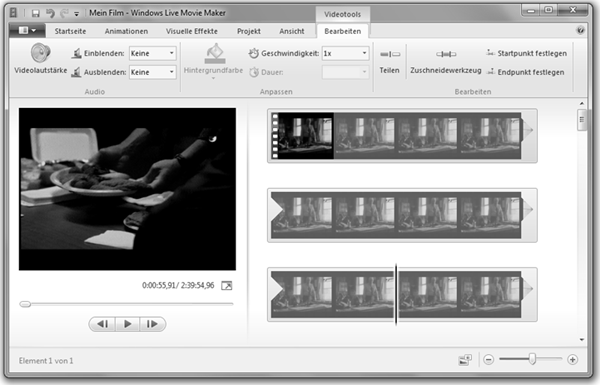
Windows Live Movie Maker: Free, simple, multi-core editing …
If you do not care much about optimizing video compression or preserving 5.1 surround sound, a good way to go is Windows Live Movie Maker. Although this application is not included in Windows 7, it can be downloaded from Microsoft as part of Windows Live Essentials. After importing your WTV file into a project, you can use a media player to navigate to the beginning of the movie. There you simply open the video tools tab and press on the split button which cuts your movie into two pieces. Repeat this process for all start and end points of commercials as well as for the end point of the movie. Then use the zoom button on the timeline to zoom out completely and delete every second fragment, starting from the first. Finally, use the save movie option from the file menu to save your final cut. With the current incarnation of Windows Live Movie Maker, this will result in a WMV file that uses stereo audio and constant bitrate encoding. While this may be sufficient for a lot of people, audio- or videophiles probably shiver at the thought of losing valuable sound and image information forever.
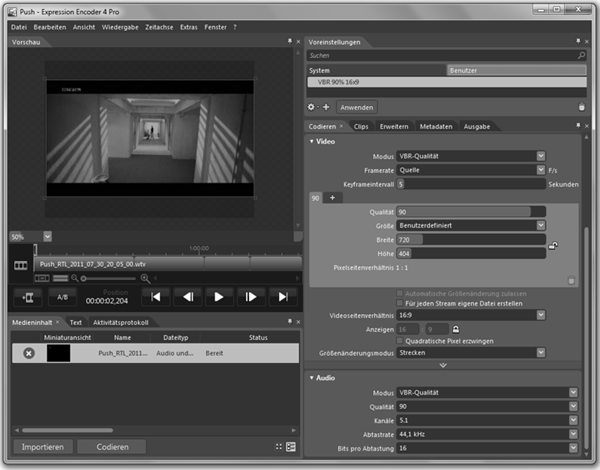
Microsoft Expression Encoder 4: With great power comes a lot of dialog boxes.
Luckily, Windows Live Movie Maker is not the only free option available. If you prefer flexibility over simplicity, you might want to try Microsoft Expression Encoder 4 instead. After creating a new transcoding project, the process for editing is similar to Windows Live Movie Maker. Simply cut out all unwanted fragments by splitting the movie using the media player and deleting them from the timeline. Then use the encoding tab to configure your output. For a good balance between data rate and quality, you might want to use VC-1 and WMA Professional with 5.1 channels with a 90%-quality variable bitrate encoding. Furthermore, you might want to set the video resolution to the same values as the original recording or, in case that your recording contains black bars, you might want to crop the video. To do this, click on the extend tab and configure the cropping section. Once you are done with the configuration, it might be a good idea to save your settings using the plus button in the topmost section. This allows you to apply them to further transcoding projects with a single click. Finally, select encode from the menu and … well, drink a cup of coffee, take a shower, visit a friend or something, since this will take a while. Yet, the results speak for themselves and once you get used to the interface and you have defined defaults for your common use cases, you will not look back again.


